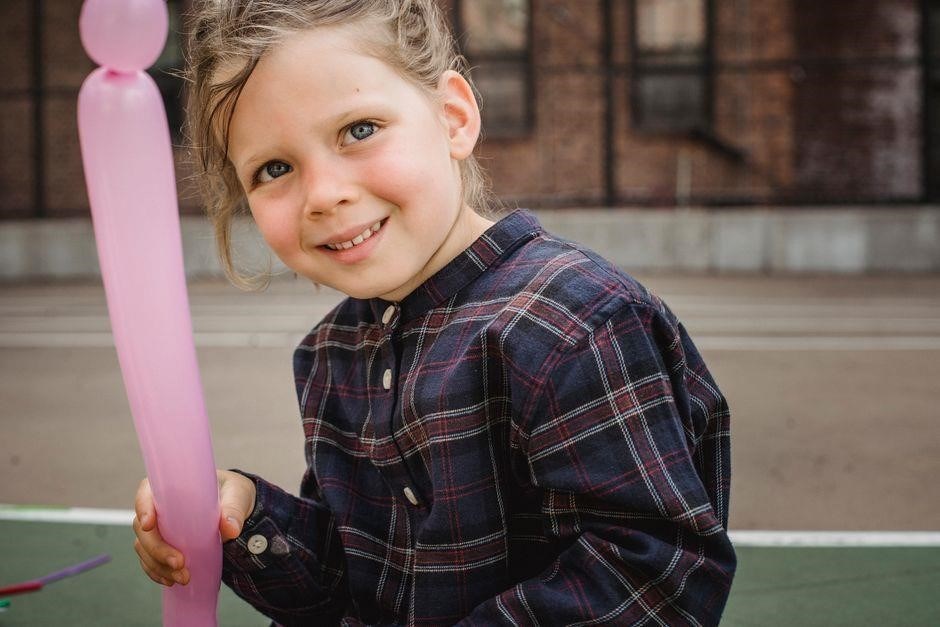
Learn balloon modelling with our guide‚ featuring step-by-step instructions and tips for creating amazing balloon models and animals‚ perfect for events and parties‚ using Qualat balloons and pumps.
Understanding the Basics of Balloon Twisting
To begin with‚ it’s essential to understand the fundamentals of balloon twisting‚ including the types of balloons and basic twists. The quality of the balloons and the technique used can greatly affect the outcome of the models. Before starting‚ make sure to choose the right balloons and tools for the job. It’s also crucial to learn the basic twists‚ such as the bubble twist and the fold twist‚ which are the building blocks of more complex models. With practice and patience‚ anyone can master the art of balloon twisting and create amazing models and designs. The key is to start simple and gradually move on to more complex designs. By following these steps and tips‚ you’ll be well on your way to becoming a skilled balloon twister and creating beautiful models that will amaze and delight your audience. Whether you’re a beginner or an experienced twister‚ the art of balloon twisting is a fun and rewarding hobby that can bring joy and creativity to your life. So why not give it a try and discover the magic of balloon twisting for yourself? With dedication and practice‚ you can create stunning models and designs that will impress and delight your friends and family. The possibilities are endless‚ and the fun is just beginning. So start twisting and creating today‚ and discover the joy of balloon modelling for yourself. Whether you’re looking for a new hobby or just want to learn a new skill‚ balloon twisting is a great way to challenge yourself and express your creativity. So why not give it a try and see what you can create? The world of balloon modelling is waiting for you‚ and the possibilities are endless. With practice and patience‚ you can master the art of balloon twisting and create amazing models and designs that will amaze and delight your audience. So start twisting and creating today‚ and discover the joy of balloon modelling for yourself.
Importance of Balloon Modelling Instructions
The importance of balloon modelling instructions cannot be overstated‚ as they provide a clear and concise guide for creating amazing balloon models and designs. With step-by-step instructions‚ beginners can easily learn the basics of balloon twisting and create their own unique models. The instructions also help to ensure that the balloons are properly inflated and twisted‚ which is essential for creating durable and long-lasting models. Furthermore‚ the instructions provide a valuable resource for experienced twisters to improve their skills and learn new techniques. By following the instructions‚ anyone can create amazing balloon models that will delight and impress their audience. The instructions are also essential for hosting successful events and parties‚ as they provide a fun and interactive way to entertain guests. In addition‚ the instructions can be used to teach others the art of balloon twisting‚ which can be a rewarding and fun activity to share with others. Overall‚ the importance of balloon modelling instructions lies in their ability to provide a clear and concise guide for creating amazing balloon models and designs‚ while also promoting the art of balloon twisting and encouraging others to learn and share this fun and creative activity. The instructions are a valuable resource for anyone interested in balloon modelling‚ and can be used to create a wide range of amazing models and designs. By following the instructions‚ anyone can unlock their creativity and potential in balloon modelling‚ and create amazing models that will delight and impress their audience.
Equipment and Materials Needed
Required equipment includes balloons‚ pumps‚ and tweezers for twisting and shaping balloons into models.
Types of Balloons and Pumps Required
For balloon modelling‚ you’ll need high-quality twisting balloons made from 100% biodegradable materials‚ available in various colors and sizes‚ including 260s and 360s.
Additionally‚ a good pump is essential‚ with options ranging from manual hand pumps to electric pumps for larger events.
It’s also important to consider the type of valve and nozzle size when choosing a pump‚ as these can affect the inflation speed and control over the balloon.
By selecting the right balloons and pumps‚ you can ensure that your balloon models turn out professional-looking and long-lasting‚ making them perfect for parties‚ events‚ and other celebrations.
With the right equipment‚ you can create a wide range of balloon designs‚ from simple animals to complex sculptures‚ and bring joy to people of all ages.
So‚ whether you’re a beginner or an experienced balloon modeller‚ it’s essential to invest in good-quality balloons and pumps to take your balloon creations to the next level.
Safety Considerations for Balloon Modelling
When it comes to balloon modelling‚ safety should always be a top priority‚ especially when working with children or large groups.
It’s essential to be aware of potential hazards‚ such as choking hazards from small balloon pieces or allergic reactions to latex.
To minimize risks‚ make sure to supervise children at all times when they’re playing with balloons‚ and teach them how to properly handle and inflate balloons.
Additionally‚ cleanliness is crucial‚ so ensure that your work area is clean and sanitized before and after use.
It’s also important to follow proper inflation techniques to avoid over-inflating or under-inflating balloons‚ which can lead to accidents or injuries.
By taking these safety precautions seriously‚ you can help create a fun and safe environment for everyone to enjoy balloon modelling.
Remember to always read and follow the manufacturer’s instructions for balloons and pumps‚ and take necessary precautions to avoid any potential risks or hazards.
This will help ensure a successful and enjoyable balloon modelling experience for all participants.
Techniques for Inflating Balloons
Master inflation techniques with step-by-step guides‚ using pumps and valves to achieve perfect air pressure for balloon modelling‚ ensuring long-lasting and stable creations.
How to Pump Up Your Balloon
To pump up your balloon‚ start by holding the pump with one hand and the balloon with the other. Place the balloon over the pump and squeeze the handle to inflate. Use a gentle and consistent motion to avoid over-inflating or popping the balloon. It’s essential to monitor the air pressure and stop when the balloon is firm but not too tight. This technique requires practice to master‚ so don’t be discouraged if it takes a few attempts to get it just right. By following these steps and using the right equipment‚ you’ll be able to pump up your balloon with ease and create amazing balloon models and animals. Remember to always use a pump that is designed for balloon modelling and to follow the manufacturer’s instructions for proper use. With a little patience and practice‚ you’ll be a pro at pumping up your balloon in no time.
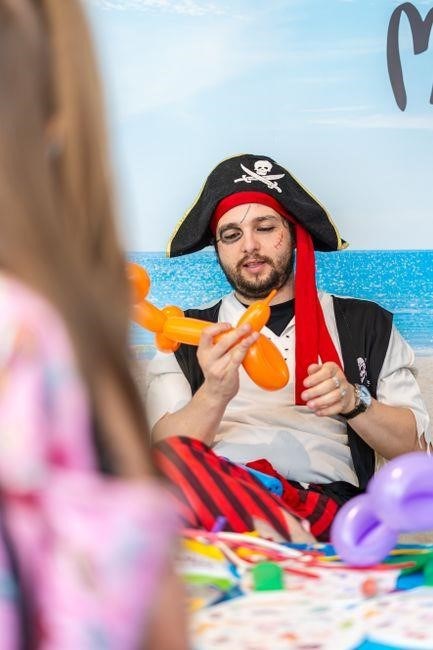
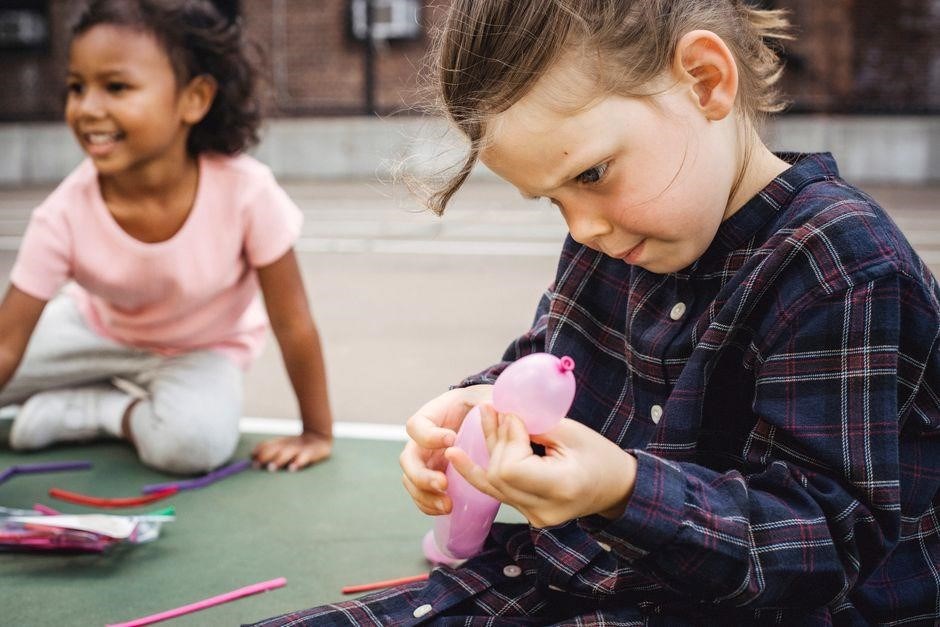
Tips for Organizing Balloon Modelling Events
When organizing a balloon modelling event‚ consider the age and skill level of the participants. Create a schedule and timeline to ensure a smooth and enjoyable experience. Assign tasks to volunteers or staff to help with setup‚ registration‚ and supervision. Use social media and email to promote the event and encourage registrations. Have a plan in place for inclement weather or last-minute cancellations. Consider offering workshops or classes to teach balloon modelling techniques and provide materials and equipment for participants to use. Make sure to have a first aid kit and emergency contact information on hand. By being prepared and flexible‚ you can create a fun and memorable balloon modelling event that participants will love. Use online resources and guides to help with planning and execution. With careful planning and attention to detail‚ your balloon modelling event is sure to be a success.
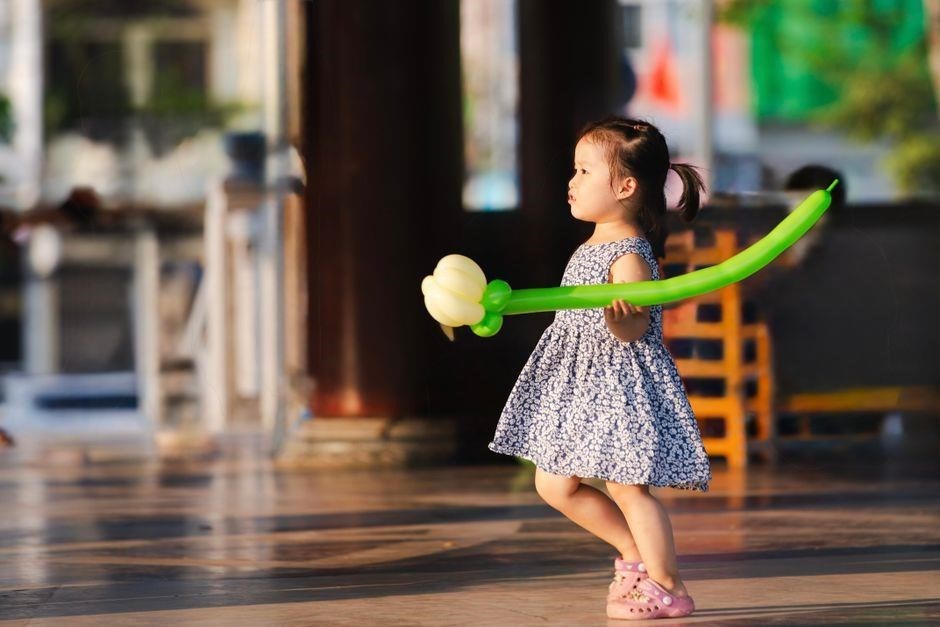
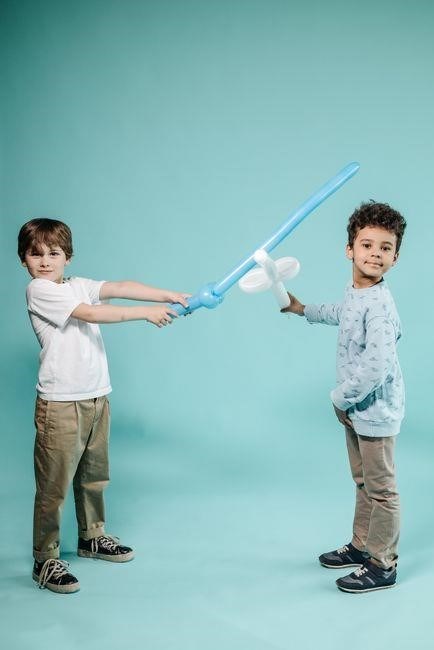
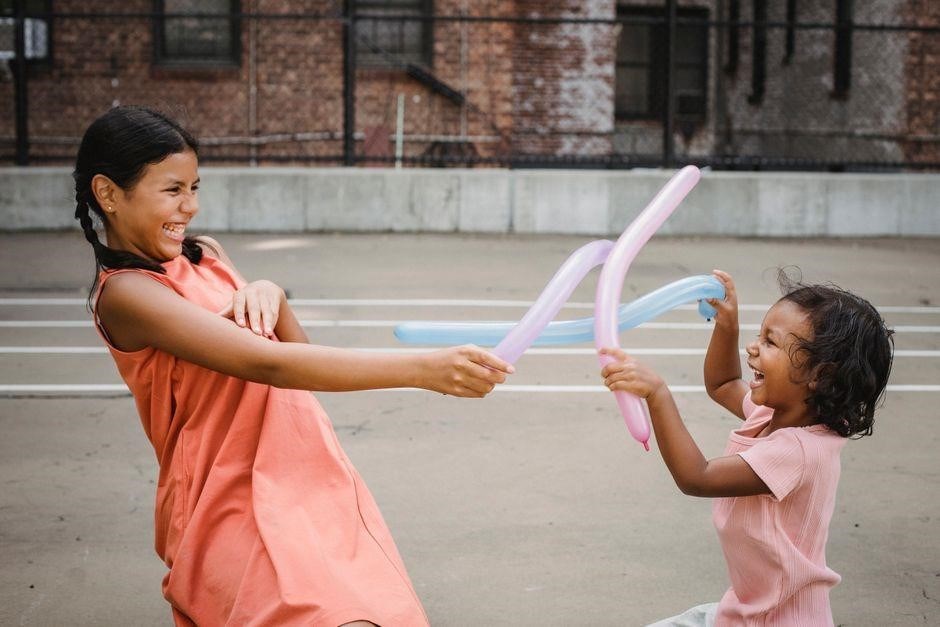
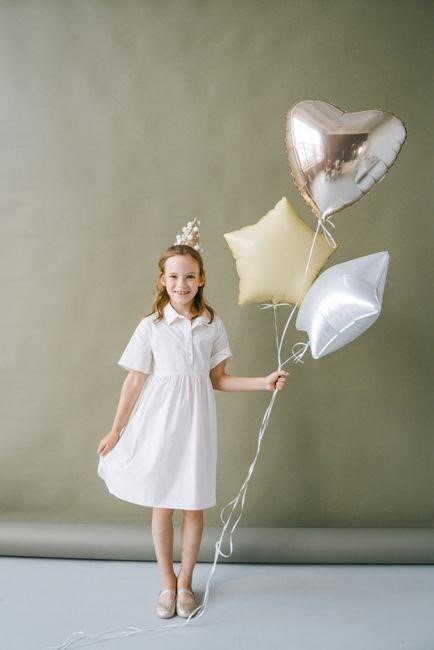
Popular Balloon Models and Animals
Discover amazing balloon models‚ including animals like dogs and giraffes‚ and learn to create them with easy to follow instructions and tips from experts.
How to Make a Fushigi Ball and Baby Spider-Man Balloon
To create a Fushigi ball‚ start by inflating a balloon and then twisting it into the desired shape. For a Baby Spider-Man balloon‚ use a qualatex balloon and follow the step-by-step guide provided by experts‚ including Kenny‚ who demonstrates how to make a Spider-Man balloon with a diaper. The Fushigi ball can be used for contact juggling‚ including arm stalls and more. With practice‚ you can master the art of creating these amazing balloon models and impress your friends and family with your creativity and skills. The Baby Spider-Man balloon is a great example of a balloon model that can be made with a single balloon and some twisting techniques. By following the instructions and tips provided‚ you can create your own Fushigi ball and Baby Spider-Man balloon and enjoy the art of balloon modelling; Whether you are a beginner or an experienced balloon modeller‚ these models are sure to impress and delight. So‚ get started today and learn how to make a Fushigi ball and Baby Spider-Man balloon with our easy-to-follow guide and step-by-step instructions.
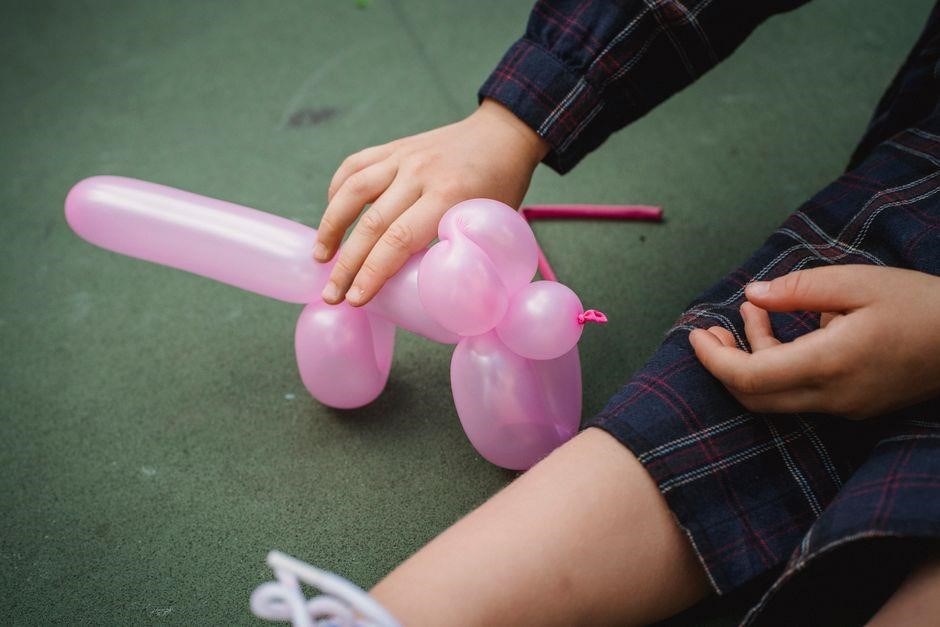
Learning to Make 12 Amazing One Balloon Animals
Discover the art of creating 12 amazing one balloon animals with our step-by-step guide and easy-to-follow instructions. From simple to complex designs‚ learn how to make unique and colorful balloon animals using qualatex balloons and basic twisting techniques. With practice and patience‚ you can master the art of creating one balloon animals and impress your friends and family with your creativity and skills. Our guide includes tips and tricks for making 12 different balloon animals‚ each with its own unique character and personality. Whether you are a beginner or an experienced balloon modeller‚ our guide will help you to improve your skills and create amazing balloon animals. So‚ get started today and learn how to make 12 amazing one balloon animals with our comprehensive guide and step-by-step instructions. With our guide‚ you will be able to create a variety of balloon animals‚ including dogs‚ cats‚ birds‚ and many more. Our guide is perfect for parties‚ events‚ and special occasions‚ and is sure to delight both children and adults alike.
Resources for Balloon Modelling Instructions PDF
Find balloon modelling resources‚ including PDF guides and tutorials‚ at Qualatex and other online stores‚ with links to Amazon and more‚ for easy access to balloon modelling supplies and instructions.
Where to Find Balloons and Equipment
Discover reliable suppliers for balloon modelling needs‚ including Qualatex and other online stores‚ offering a wide range of balloons and equipment for modelling. You can find balloons and pumps on Amazon‚ eBay‚ and other online marketplaces‚ or visit local party supply stores for a variety of balloon colours and sizes. Additionally‚ specialty stores may carry unique and custom balloons for modelling purposes; When shopping online‚ be sure to read reviews and check ratings to ensure you’re purchasing from a reputable supplier. By exploring these options‚ you’ll be able to find the right balloons and equipment for your balloon modelling needs‚ and get started on creating amazing models and designs with ease‚ using the best materials available‚ and following the instructions provided in the PDF guide‚ to create beautiful and complex balloon models‚ with step-by-step instructions‚ and detailed illustrations‚ making it easy to learn and master the art of balloon modelling‚ and create stunning and unique designs‚ that will impress and delight your audience‚ and provide a fun and creative outlet‚ for people of all ages and skill levels‚ from beginners to experienced artists‚ and enthusiasts‚ who want to learn and improve their balloon modelling skills‚ and create beautiful and complex balloon models‚ with ease and confidence‚ using the right balloons and equipment‚ and following the instructions and guidelines provided‚ in the PDF guide‚ which is a valuable resource‚ for anyone who wants to learn and master the art of balloon modelling‚ and create stunning and unique designs‚ that will impress and delight their audience‚ and provide a fun and creative outlet‚ for people of all ages and skill levels.
Online Guides and Tutorials for Balloon Modelling
Explore online resources for balloon modelling‚ featuring tutorials and guides on YouTube‚ blogs‚ and websites‚ offering step-by-step instructions and tips for creating amazing balloon models and animals. Discover Joey’s Balloon Company and other online platforms providing valuable information and resources for balloon modelling enthusiasts‚ including video tutorials‚ PDF guides‚ and online courses to help you improve your skills and master the art of balloon modelling‚ with easy-to-follow instructions and detailed illustrations‚ making it fun and easy to learn and create amazing balloon models and designs‚ and share your creations with others in the online community‚ and get feedback and support from experienced balloon modellers‚ and stay updated with the latest trends and techniques in the world of balloon modelling‚ and access a wide range of online resources and tools to help you improve your skills and master the art of balloon modelling‚ and create amazing balloon models and designs that will impress and delight your audience‚ and provide a fun and creative outlet for people of all ages and skill levels.